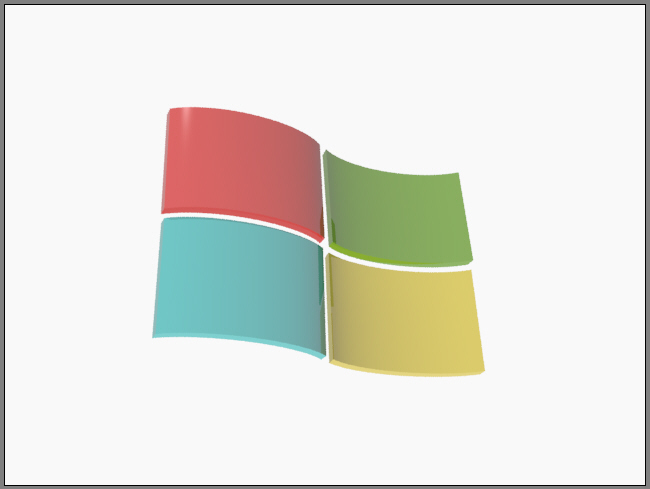
In this tutorial, you will learn how to create a Microsoft Windows logo in 3ds Max Design, as shown in Figure 1.


Figure 1 The Microsoft Windows logo
The following steps are required to complete this tutorial:
- Start Autodesk 3ds Max Design from the Start menu; the default Max Design interface is displayed, as shown in Figure 2.
 Figure 2 The default interface of 3ds Max Design
 - Turn off the gridlines in Top, Front, and Left viewports by pressing the G key to make the objects visible.
- Choose Create > Shapes in the Command Panel and invoke the Arc tool from the Object Type rollout.
- Activate the Top viewport and create an arc, as shown in Figure 3.
 Figure 3 Creating an arc in the Top viewport
 - You will now create a duplicate copy of the arc. To do so, select the arc in the Top viewport, press and hold the left mouse button and drag it down while holding the SHIFT key. Now release the left mouse button and the SHIFT key; the Clone Options dialog box is displayed. Select the Copy radio button in this dialog box and then choose the OK button; a duplicate copy of the arc is created, as shown in Figure 4.
 Figure 4 Creating a duplicate copy of the arc
 - In the Top viewport, right-click on any arc and choose Convert To > Convert To Editable Spline from the cascading menu, as shown in Figure 5.
 Figure 5 Converting the arc into editable spline
 - Choose the Modify tab in Command Panel. Next, choose the Vertex button to activate it in the Selection rollout.
- Expand the Geometry rollout and choose the Attach button. Next, select the other arc in the Top viewport and choose the Connect button.
- Select the one end of first arc and drag it to connect with the opposite end of second arc.
- Similarly, select the one end of second arc and drag it to connect with the opposite end of first arc. The two arcs are joined at their ends by the two lines, as shown in Figure 6.
 Figure 6 The two arcs joined at their ends by the two lines
 - Choose the Vertex button again to deselect it. Next, select the arc in the Top viewport and name it as Arc01. It is now a single shape and not two separate arcs.
- With the Arc01 selected, select the Extrude option in Modifier List drop-down list to extrude the shape.
- In the Parameters rollout, set the value 900 in the Amount spinner; the shape is extruded, as shown in Figure 7.
 Figure 7 Extruding the shape
 - Create a duplicate copy of the Arc01. To do so, select the Arc01 in the Top viewport and then press and hold the left mouse button along with SHIFT key. Drag it down and then release the left mouse button and the SHIFT key; the Clone Options dialog box is displayed. Make sure the Copy radio button is selected and name it as Arc02. Now, choose the OK button; the duplicate copy is created, as shown in Figure 8.
 Figure 8 Creating the duplicate copy of the shape
 - Rotate the Arc02 180 degrees by using the Select and Rotate tool and align it with Arc01 in all viewports by using the Select and Move tool, as shown in Figure 9.
 Figure 9 Rotating the Arc02 and aligned it in all viewports
 - Now, create a duplicate copy of the two shapes (Arc01 and Arc02) and drag them down, as shown in Figure 10.
 Figure 10 Creating a duplicate shape
 - Invoke the Select and Move tool from the Main Toolbar and align the arc shape in all viewports to give a similar look just like Micorosoft Windows logo, as shown in Figure 11.
 Figure 11 Aligning the shapes in all viewports
 - Finally, apply the material for every shape by using the Material Editor dialog box. The material you apply should match the colors of the real Microsoft Windows logo, as shown in Figure 12.
 Figure 12 Applying the color materials to the shape
 - Invoke the Render Production tool from the Main Toolbar to render the scene. The final rendered image of the Microsoft Windows logo is shown in Figure 13.
 Figure 13 The final rendered image
 - Save the scene with the name Microsoft Windows logo.


No comments:
Post a Comment